Terminal & Shell
This guide covers macOS exclusively, because it’s what I use the most these days. However, everything related to ZSH is applicable to Linux.
iTerm2
Terminal, the creatively named terminal emulator that comes with macOS, sucks.
Well, not really… but we can do much better. There are many alternatives out there, but for me nothing beats iTerm2. Download it from its website, and let’s get configuring.
Hotkey Window
A feature that seems to be standard in Linux and that I really miss in macOS is the ability to invoke a terminal window anytime with a key combo (e.g. Super + T in pop_OS).
We can configure iTerm2 to achieve the same result.
Go to Preferences > Profiles > Keys, then Configure Hotkey Window, where you can configure a Hotkey.
I personally like Ctrl + \, but you do you.
Word-by-word movement
I like being able to traverse a line word-by-word, which is easily enabled by going to Preferences > Profiles > Keys > Key Mappings, and selecting Natural Text Editing under Presets.
This allows you to move with between words using Option + Right/Left (e.g. ⌥← moves backwards).
More info here.
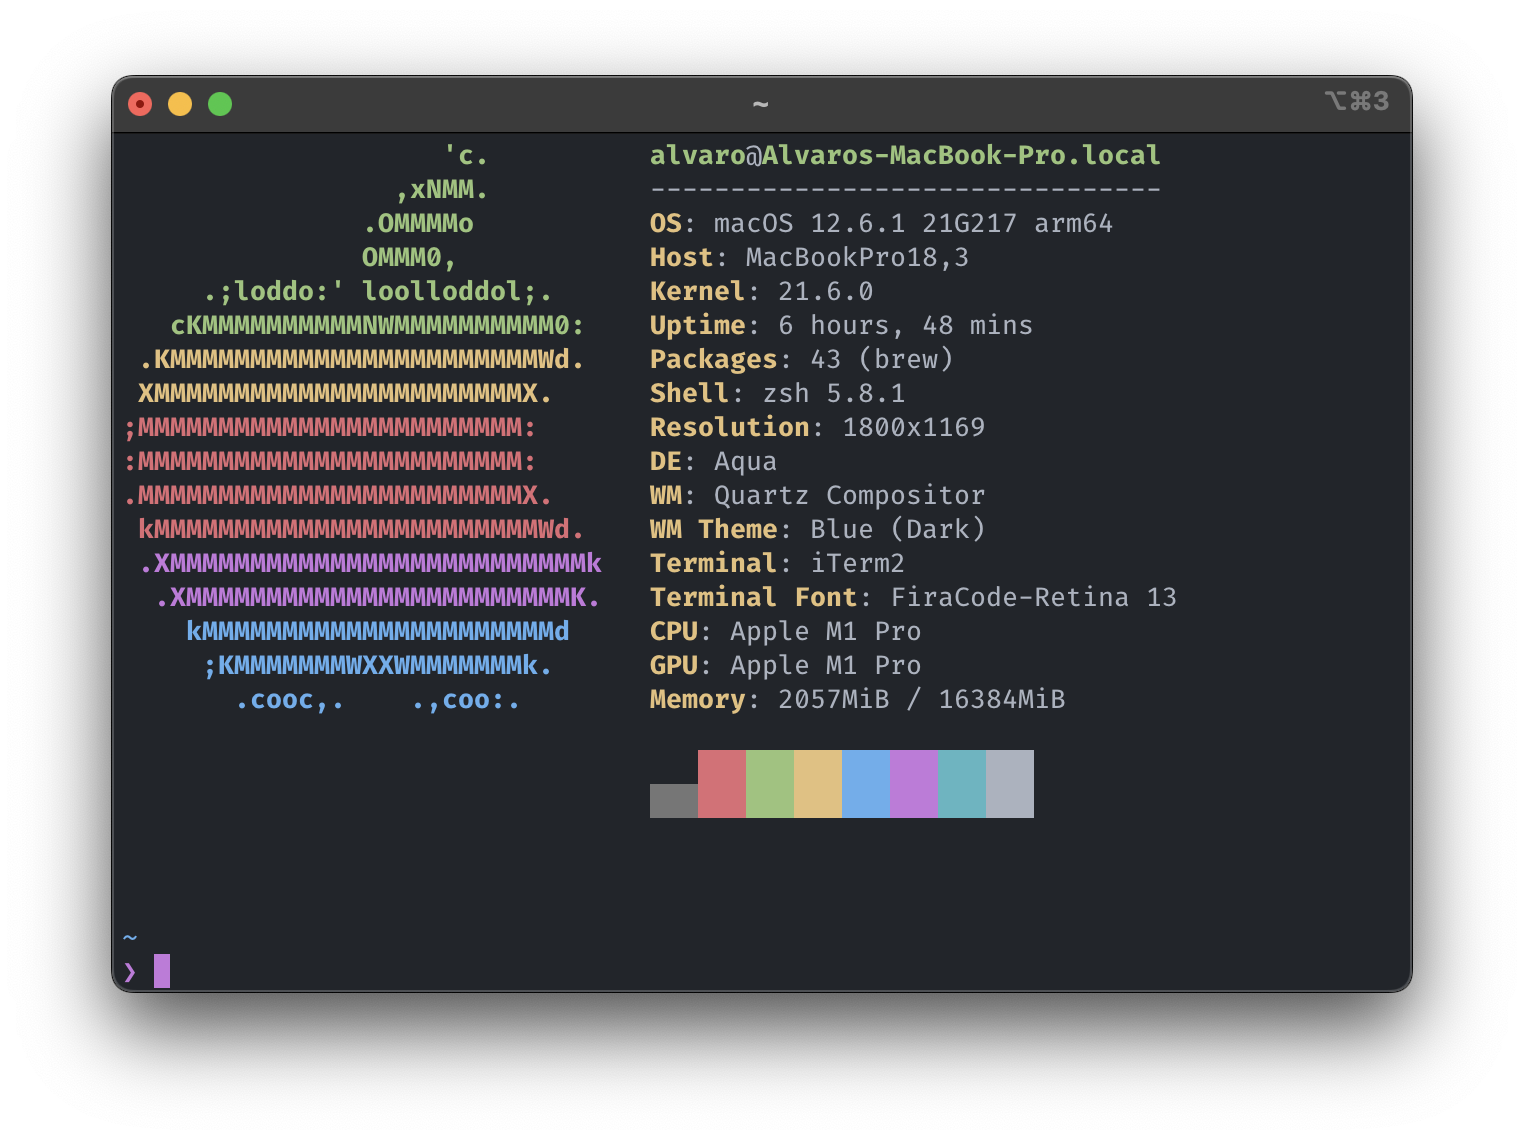
Color scheme
I’m a big fan of Atom’s One Dark color scheme, which has outlived the editor. These are the colors in all the screenshots here. Installation instructions for iTerm2 can be found in https://github.com/one-dark/iterm-one-dark-theme.
ZSH
Getting the terminal working is half of the fun—now we turn to the shell. In recent versions of macOS, ZSH has become the system’s default, which I like. However, a lot more can be done to make it prettier and more functional.
Make sure your shell is indeed ZSH by running
echo $SHELL
The output should be something like /bin/zsh (or any string that includes zsh).
If ZSH is not installed or not your default, follow these steps to correct it.
Oh My ZSH
Oh My Zsh will not make you a 10x developer…but you may feel like one!
That works for me! Go to https://ohmyz.sh/ for install instructions, which boil down to one line:
sh -c "$(curl -fsSL https://raw.githubusercontent.com/ohmyzsh/ohmyzsh/master/tools/install.sh)"
Prompt
I like the pure prompt a lot, and I find that I’m satisfied with all of its defaults. It looks like this:

Installation with Homebrew is very simple, as usual.
brew install pure
After installing it, add the following lines to the end of your ~/.zshrc file.
fpath+=("$(brew --prefix)/share/zsh/site-functions")    # If you *didn't* install ZSH via Homebrew
autoload -U promptinit; promptinit
prompt pure
Autosuggestions
zsh-autosuggestions is a plugin that automatically suggests the continuation of a command based on your terminal history. Just typing → accepts the whole suggestion, or word-by-word with ⌥→.

With Homebrew:
brew install zsh-autosuggestions
Then, at the end of your ~/.zshrc file:
source $(brew --prefix)/share/zsh-autosuggestions/zsh-autosuggestions.zsh
Syntax Highlighting
Adding syntax highlighting to the shell allows you to validate on-the-fly if a command is installed and in your path, as well as catching syntax errors, and making the overall output nicer.
With Homebrew:
brew install zsh-syntax-highlighting
Then, at the end of your ~/.zshrc file:
source $(brew --prefix)/share/zsh-syntax-highlighting/zsh-syntax-highlighting.zsh